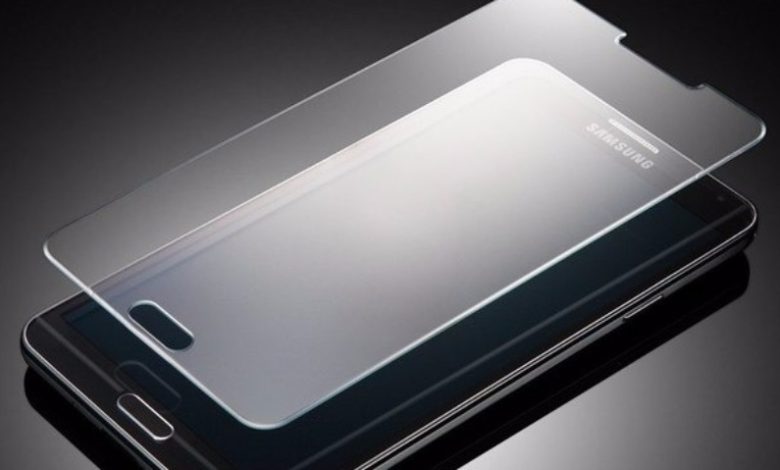
How to Install a Tempered Glass Screen Protector With No Air & Dust

Applying a tempered glass screen protector to your phone is essential to protect your device from scratches and cracks. However, many users face issues with dust and bubbles when applying the protector. Dust and bubbles can affect the clarity of the screen and make it difficult to use your phone. Here is a virtual walkthrough on how to apply a tempered glass screen protector without dust and bubbles.
Step 1: Clean Your Phone Screen
The first and most crucial step is to clean your phone screen thoroughly. Use a microfiber cloth to remove any dirt, oil, or smudges from the surface. If necessary, use a cleaning solution like isopropyl alcohol to remove any stubborn dirt. Ensure that the screen is completely dry before proceeding to the next step.
Step 2: Align The Protector
Once your phone screen is clean, remove the tempered glass screen protector from its packaging. Align the protector with the edges of your phone screen and place it carefully on the surface. Make sure that the protector is centered and in the proper position.
Step 3: Remove The Protective Film
Once the protector is aligned, remove the protective film from the back of the tempered glass. This film is usually a blue or clear layer that protects the adhesive side of the glass. Do not hold it from the sticky side, as this can leave fingerprints and oil residue that can affect the adhesion of the protector.
Step 4: Apply The Protector
Slowly and carefully place the tempered glass screen protector onto the surface of your phone screen. Start applying it from one edge to the other, ensuring the protector is aligned with all the edges of the phone. Apply gentle pressure to the protector’s surface to ensure it sticks properly.
Step 5: Squeeze Out Air Bubbles
Once the protector is applied, you may notice air bubbles trapped between the protector and the screen. To remove these bubbles, gently squeeze them out with your fingers, working from the center to the edges. Alternatively, you can use a credit card to push out the bubbles.
Step 6: Clean Up Any Residue
After squeezing out the air bubbles, check the edges of the protector to ensure it is properly aligned. If necessary, adjust the position of the protector by gently lifting and repositioning it. If any residue or dirt is left on the surface, use a microfiber cloth to clean it up.
Step 7: Enjoy Your New Screen Protector
Congratulations! You have successfully applied a tempered glass screen protector to your phone without dust or bubbles. Enjoy your phone screen’s new level of protection, and have a great time.
Tips To Avoid Debris And Bubbles
Here are some tips to avoid dust and bubbles when applying a tempered glass screen protector:
- Clean your hands before applying the protector.
- Make sure that the screen is completely dry and free of oil and residue.
- Avoid touching the adhesive side of the protector with your fingers.
- Apply the protector in a dust-free environment, preferably in a clean room or a place with minimal dust.
- Work slowly and carefully when applying the protector, making sure that it is aligned and centered.
- Be as gentle as you can. Pay heed to the process of applying and do not rush in between. The application of a smooth and dust-free glass protector greatly depends on the gentle hand pressure while applying it. If you press down with force, bubbles and dust will be trapped and you won’t get the desired result.
- Try to use a high quality tempered glass screen protector. A low quality screen protector will be less likely to adhere to the mobile phone screen and more likely to catch the dust particles at the time of application.
Conclusion
Applying a tempered glass screen protector to your phone is a simple and effective way to protect your device from scratches and cracks. By following these steps, you can apply the protector without any dust or bubbles, ensuring that the clarity of your phone screen is not affected. Remember to take your time and be gentle when applying the protector; you will enjoy a new level of protection for your phone in no time.


One Comment